How to Record a Microsoft Teams Meeting: A Complete Guide
Recording a Microsoft Teams meeting can be a major time-saver, eliminating the need to ask people to repeat instructions or go over key points from a discussion. It’s also beneficial for organizations that need to archive troubleshooting sessions for future analysis, comply with regulatory requirements, or keep track of important decisions made during a meeting.
Microsoft Teams recognizes the importance of this and has made the recording process straightforward—provided everything is set up correctly.
Here’s what you need to know to record a meeting in Teams, how to access recordings afterward, and other key details about the process.
Permissions to Record a Teams Meeting
Before you start recording, ensure you have the proper permissions. A few requirements must be met to initiate or stop a recording during a meeting.
First, you’ll need a subscription, such as Office 365 Enterprise, Business Premium, or Business Essentials.
If you’re part of an organization, your IT administrator might need to enable recording for meetings. Some companies disable recordings by default, allowing them only in specific scenarios. However, if you’re using Teams independently, recording should be enabled by default.
It’s important to note that only specific users can record meetings—usually the meeting organizer or participants from the same organization. Guests or users from external organizations won’t be able to record.
Steps to Record a Microsoft Teams Meeting
Ready to begin recording? Follow these steps:
- Log in to Microsoft Teams and join the meeting. Assign one person to handle the recording, as only one recording can be made at a time.
- Click on “More actions” (three-dot icon) in the meeting menu.
- Select “Start recording” from the drop-down menu. Some organizations may require you to accept a recording policy before proceeding. All participants will be notified when the recording begins.
- Turn on transcription (unless blocked by an admin), which runs alongside the recording. Transcripts can be viewed in real-time and are saved with the video afterward. This feature is often essential for compliance or legal purposes. You can stop live transcriptions anytime via the “More actions” menu.
- Stop the recording by returning to the “More actions” menu and selecting “Stop recording.” Keep in mind that processing the recording may take some time, so it won’t be available immediately.
Additional Tips for Recording Teams Meetings
There are a few extra details to consider when using Microsoft Teams’ recording feature:
- Recordings automatically stop when all participants leave, but they continue if the person who initiated the recording exits early. Make sure someone remains to stop it manually if needed.
- Local laws or company policies may require all participants’ consent before recording.
- External guests and attendees won’t have access to the recording unless you share it with them directly.
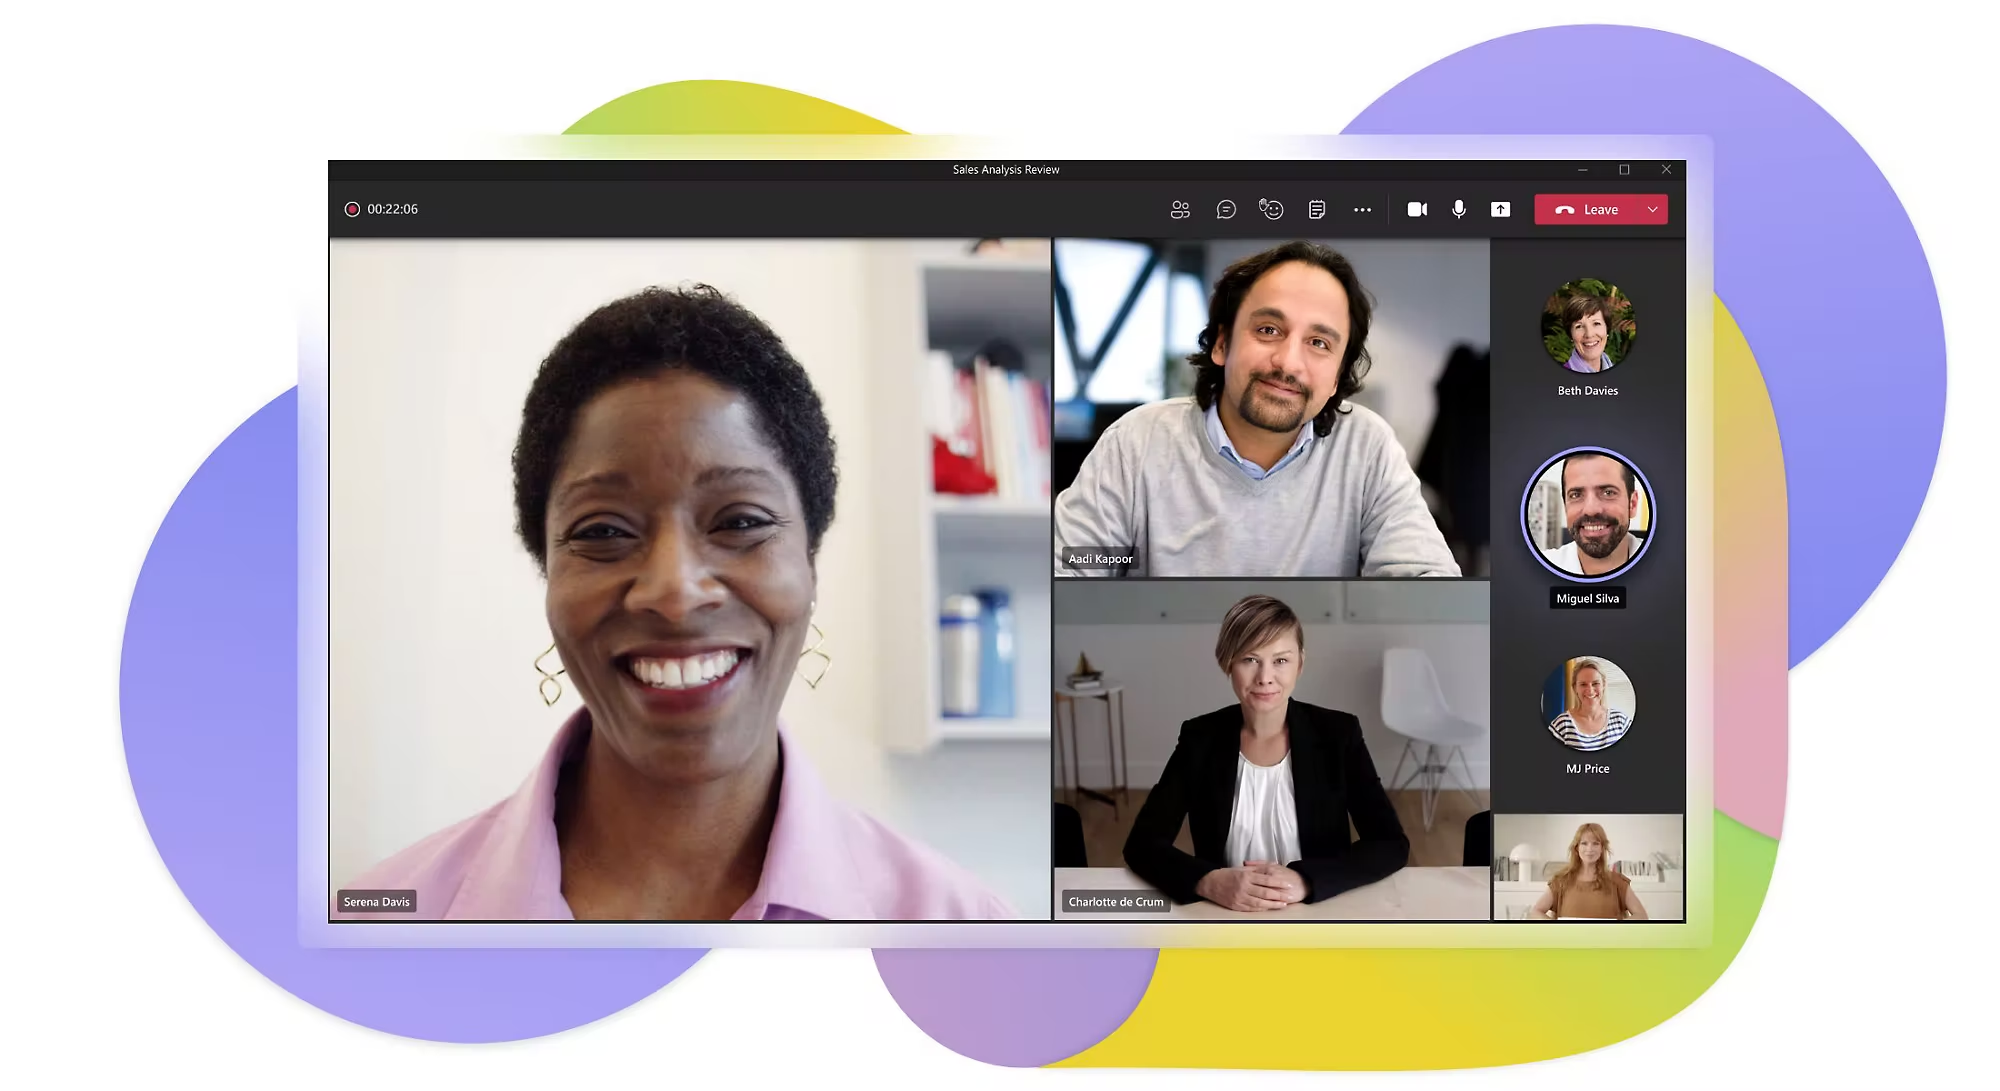
- Microsoft Teams can display up to four video streams in the recording, but you won’t be able to switch between them after the meeting ends.
Accessing and Sharing Recorded Meetings
Teams meeting recordings are saved in SharePoint if it was a channel meeting, or in OneDrive for other meetings. You can find the recording in the Files tab of the channel or chat where the meeting took place. A link to the recording will also appear in the channel or chat window.
You can share the recording within Teams or copy and paste it into other platforms. Be mindful of any expiration dates on recordings, which can be managed by IT or customized by the person who recorded the meeting. If the video is meant for compliance purposes, consider disabling expiration or saving it elsewhere permanently.
How to Download a Teams Meeting Recording
To download a recording, follow these steps:
- Open the Files tab and locate the recording.
- Click More options next to the recording file.
- Select Download to save the video to your device. Only the meeting organizer or the person who started the recording will have the option to download.
By understanding how to record and manage Microsoft Teams meetings, you can ensure important information is captured and easily accessible for future reference.
Read also: GPT-4 Turbo Now Available for Free in Microsoft Copilot

