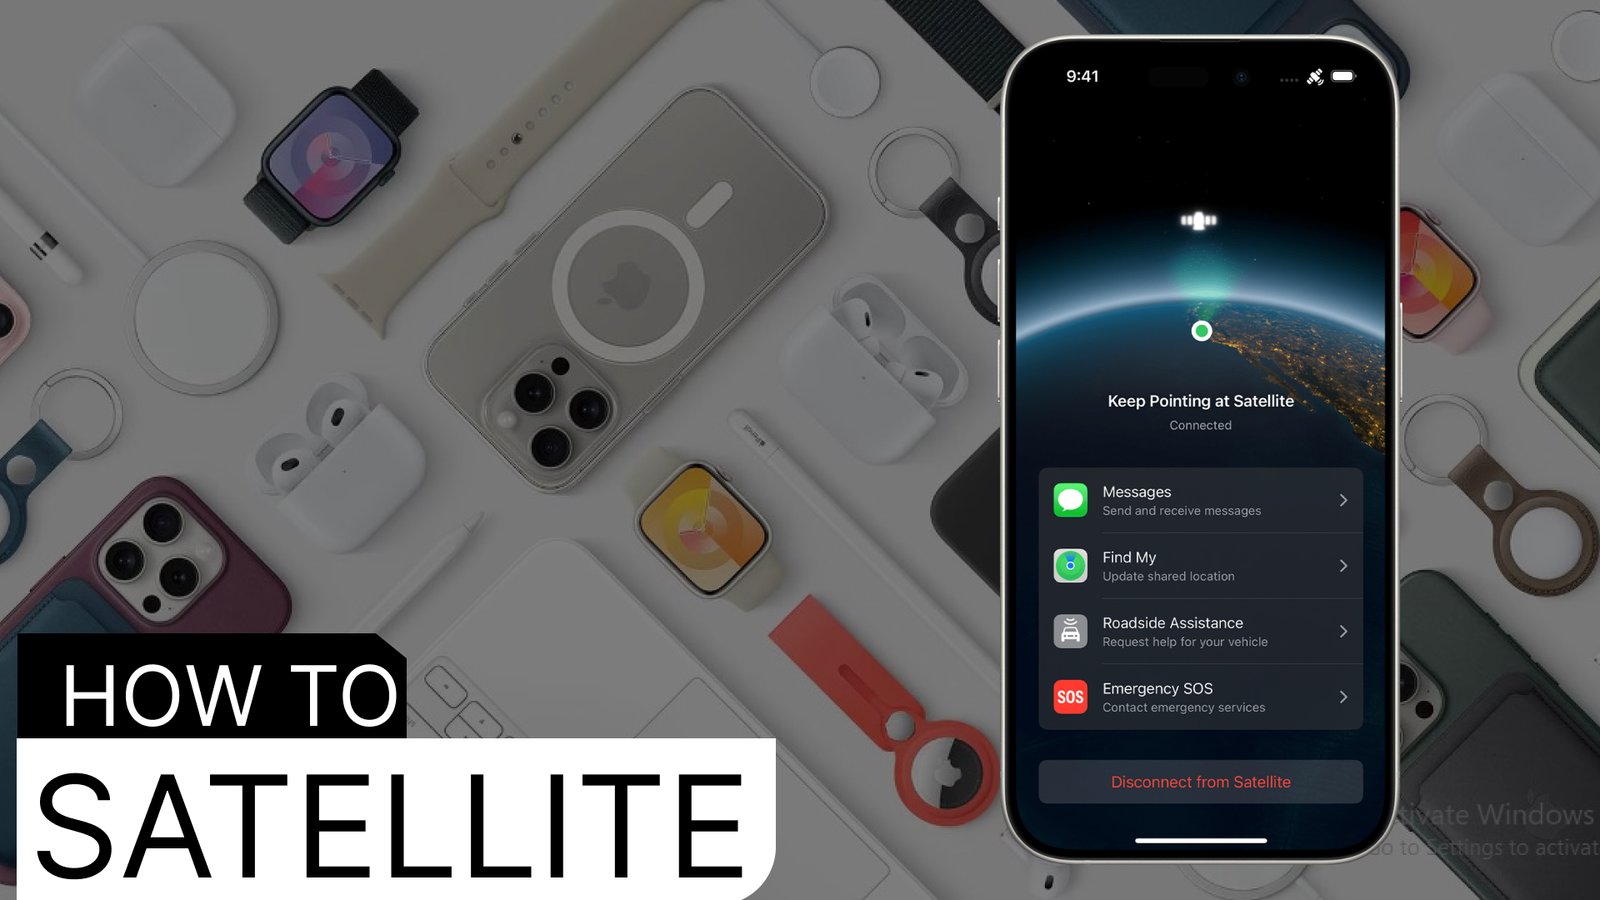
How to Use Satellite Messaging on iPhone When Cellular Service is Down
In today’s world, smartphones often feel like the Swiss Army knives of the 21st century. But without a cellular or data connection, they can quickly turn into useless “bricks” that we anxiously check for any sign of a WiFi or cell signal. Fortunately, newer iPhones with iOS 18 offer a solution through satellite connectivity, keeping you connected even in the most isolated places.
Whether you’re dealing with a sudden outage, a natural disaster, or find yourself in a remote area, iPhones running iOS 18 and above have the ability to connect to satellites. This allows iPhone owners to send non-emergency texts via iMessage and SMS. The iPhone 14 and later models also feature “Emergency SOS” to reach emergency services through satellite. Google’s Pixel 9 has a similar capability.
If you need to temporarily restore basic messaging—including texts, emojis, and Tapbacks—using a satellite connection, follow these steps:
Step-by-Step Guide to Satellite Messaging
Step 1: Test the Satellite Connection with a Demo
It’s a good idea to familiarize yourself with the satellite connection before you lose service. Access the satellite demo from the control center by tapping the cellular button. From there, select the satellite option and choose “try connecting to satellite.” Follow the onscreen instructions to test the connection.
Step 2: Enable iMessage
Make sure iMessage is switched on before losing your signal. This is a crucial step since iMessages need to be active to utilize satellite services.
Step 3: Set Up Emergency Contacts and Family Sharing
To stay in touch during an emergency, set up an emergency contact and enable family sharing. Messages from these contacts will arrive as soon as you connect to a satellite. Keep in mind that they need to be using iOS 17.6 or later, or a compatible non-Apple device.
Step 4: Confirm Satellite Connection When Prompted
If your phone detects no cellular or WiFi service, a notification will appear, giving you the option to connect to a satellite. You may also receive this prompt in the Messages app. Upon connection, you’ll have the option to reach emergency services using the Emergency SOS feature.
Step 5: Open the Messages App
Sending texts through satellite is as simple as opening the Messages app. If you haven’t yet received any messages, you’ll get a prompt with instructions to connect. The iPhone 14 Pro and newer models feature Dynamic Island, which displays indicator dots to show connection strength. You may need to adjust your position slightly to improve the connection, following onscreen arrows. For more guidance, tap the Dynamic Island to access the Connection Assistant.
Additional Tips for Satellite Messaging
- Free for Two Years: Satellite connectivity is free for two years after activating an iPhone 14 or newer model.
- Clear View of the Sky: A clear view of the sky and horizon speeds up message delivery. Obstacles like trees can slow things down, taking anywhere from 30 seconds to over a minute for a message to send. Avoid blocking your phone’s view by keeping it out of pockets or bags during connection.
- Message Delivery Timing: SMS messages sent to you before you establish a satellite connection will be delivered once you’re connected. For iMessages, the sender needs to manually resend them via satellite after you’ve connected.
- Limited Features: Not all messaging features are supported—photos, videos, audio notes, and group texts won’t work over satellite.
- Latitude Limitations: In areas above 62° latitude, like parts of northern Alaska, satellite connectivity might not function.
Stay prepared by familiarizing yourself with your phone’s satellite features—this can make all the difference in staying connected when traditional networks are out of reach.
Read more: How to Hide Apps on Your iPhone: iOS 18 and Earlier Versions
Iphone user guide will help too.

